- Learn
- The B2B Enablement Hub
- Setting up RSS emails with extra segmentation – Combining personalisation and automation
In Part 1, I discussed the benefits of adding a layer of personalisation to your newsletter. We also covered some examples of how to pick the right segmentation property for you. In this part, I will show you how to set this up, using Zooma as an example.
In our case, “persona” was the main segmentation property. This is a custom dropdown property we have, and it is filled out for all contacts by their contact owners:
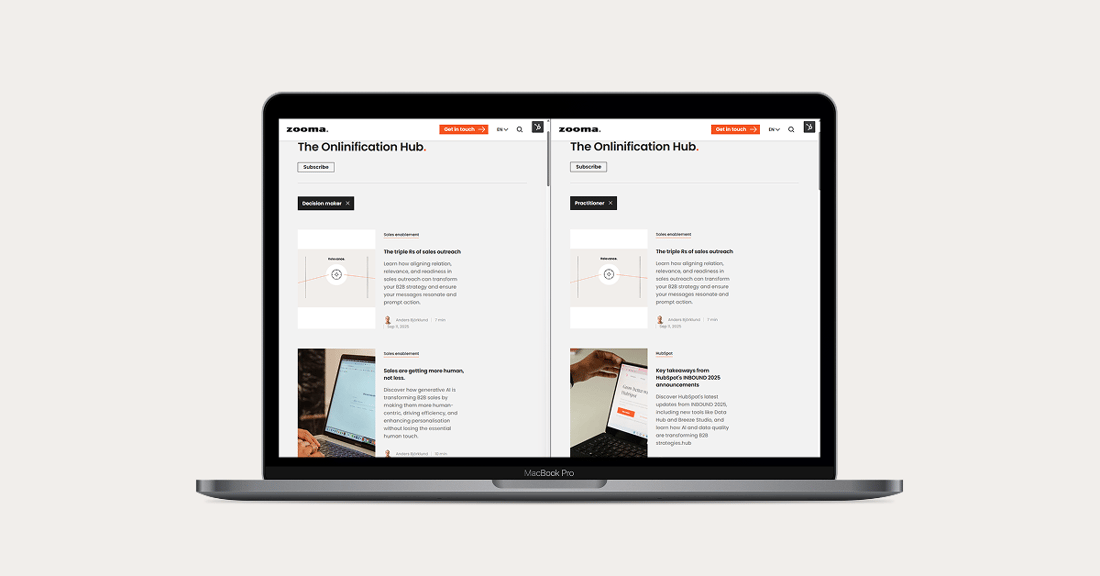
- Segment 1: Practitioners
- Segment 2: Change-makers and Decision-makers (recently renamed “Executives”, so you might see both names in screenshots)
In our case, we wanted to preserve the initial frequency choice of our users:
- Instant and daily (grouped together),
- Weekly
- Monthly.
So here is our little setup overview:
|
|
Practitioners |
Change-makers and Decision-makers |
|
Daily send |
RSS Email 1 |
RSS Email 2 |
|
Weekly send |
RSS Email 3 |
RSS Email 4 |
|
Monthly send |
RSS Email 5 |
RSS Email 6 |
Step 1: Preparing the content:
We created two new tags: Practitioner and Decision-maker. You can do this in your Marketing > Blog in HubSpot:

We tagged articles from the last two years. An article may be suitable for both audiences so that it can be assigned to both tags.
Be cautious with the tag names, as they are visible on your blog in a standard setup.
Note: If you use an external service to host your blog, you will probably have a similar process. All you need is the RSS feed link that lists content tailored to your audience’s specific needs. You will also need to consider subscription synchronisation with HubSpot emails, so I suggest checking out the HubSpot resource I linked at the end of this article.
Step 2: Generate the RSS feed links
Once you have the tags and content, navigate to your tags in HubSpot and click on a specific tag. This brings up the link where articles using this tag are listed.
Use this URL and append "/rss.xml" to the end of it.
In our example, this is the URL where we have our practitioner content: https://zooma.agency/en/learn/topic/practitioner
This is the RSS feed URL: https://zooma.agency/en/learn/topic/practitioner/rss.xml
Step 3: Create the recipient lists
We need one active list for each RSS email. This is an example filter for our weekly email:

The contact lists are all added neatly to a separate folder. (I wish we had the option to change column sizes here too, so as not to cut off the end of the names…).

Since these are active lists, when someone unsubscribes or changes their frequency preference, they will be automatically removed or updated accordingly.
Step 4: Setting up the emails.
Create a new email and select RSS, then RSS feed, and insert the feed link you created in step 2:

You can use HubSpot templates or create your own, depending on your resources and brand guidelines. The templates are relatively flexible regarding colours, fonts, and padding.
Each content item will be displayed in your email using HubSpot’s tokens. The image will be your header image, which you see when you check your tag link. You can decide how many content pieces you want to display at most. We picked 5 for our emails:

You can also add custom modules if you have such modules ready at your company. For example, we added a CTA button that leads to the full feed, saying “View all”. So we don’t overwhelm readers, but those who have the time and liked what they saw can go and explore more.
In the settings, pick the email address you use for sending and set the sender.
When adding the subject line and preview, don’t forget that this will be used for all emails going out, regardless of the actual content. You can also select “Use latest RSS entry headline as email subject,” but I don’t recommend it, as that’s not its primary purpose. Not all headlines are written in a way that they would work well for existing subscribers who get emails from you regularly.
Pick the list you created when you set up your recipients:

Set the send time. In our case, it has to correspond to the preferred frequency. If you don’t have this additional layer, you can pick the frequency and timing you want:

It is a good idea to match this with your content publishing calendar. For example, if you generally publish on Monday, then set Tuesday as the send date for a weekly newsletter so the content is fresh. If you send weekly newsletters and publish new content on the day after the send date, subscribers will receive it only the following week. It is even more important to keep monthly send times in mind when planning your content.
Repeat this process for your other RSS emails. You can clone the first one. Ensure the RSS feed is the correct one, and then update the settings.
Send test emails to yourself. I was a bit uncertain about some nuances, so initially, I added myself as the recipient of the RSS email, turned it on, and for two weeks, I checked what I received to ensure it was working.
Step 5: Turning off existing email sends if you have them
You don’t want to spam your subscribers, so now is the time to turn off conflicting emails. For example, if you were sending a non-segmented RSS email to everyone, turn that off before turning the new ones on.
Step 6: Turn on your automated RSS emails
Spend a few minutes doubting everything, then hit the scary orange button.
Mistakes to look out for
No, we did not make all of these, but yes, we did make one of them:
- Forgetting to add the tags to new content. If you do not add the tag, the content will not be added to the feed, so it will be as if it does not exist.
- Contacts that are missing the property used for segmentation. If they do not have the correct values, they are not added to the recipient lists and will miss out on the emails.
- Your segmentation is not mutually exclusive, so a contact can be part of multiple lists and therefore receive multiple emails.
- Not respecting publishing dates. For example, imagine that you are creating a monthly newsletter, which is always sent on the 1st of the month. If you publish a webinar announcement as a blog post on the 2nd, your audience will receive it only a month later, on the 1st of the following month. Maybe your webinar date has already passed by then.
Conclusion
Even this two-dimensional setup only takes a couple of hours to configure, and it can run in the background on its own, so if you are tight on resources, this could be the way to go. I would suggest conducting a monthly review of your email metrics to identify any issues.
And, as always, if you get stuck, please reach out to us, and we will be happy to help.
Extra Resources:
Here are a few helpful HubSpot Knowledge Base articles if you want to dig even deeper:
